Celebrating Tradition Together
Bringing the community spirit of Japanese taiko drumming to Reno, where tradition meets friendship and every heartbeat connects us
About Reno Taiko
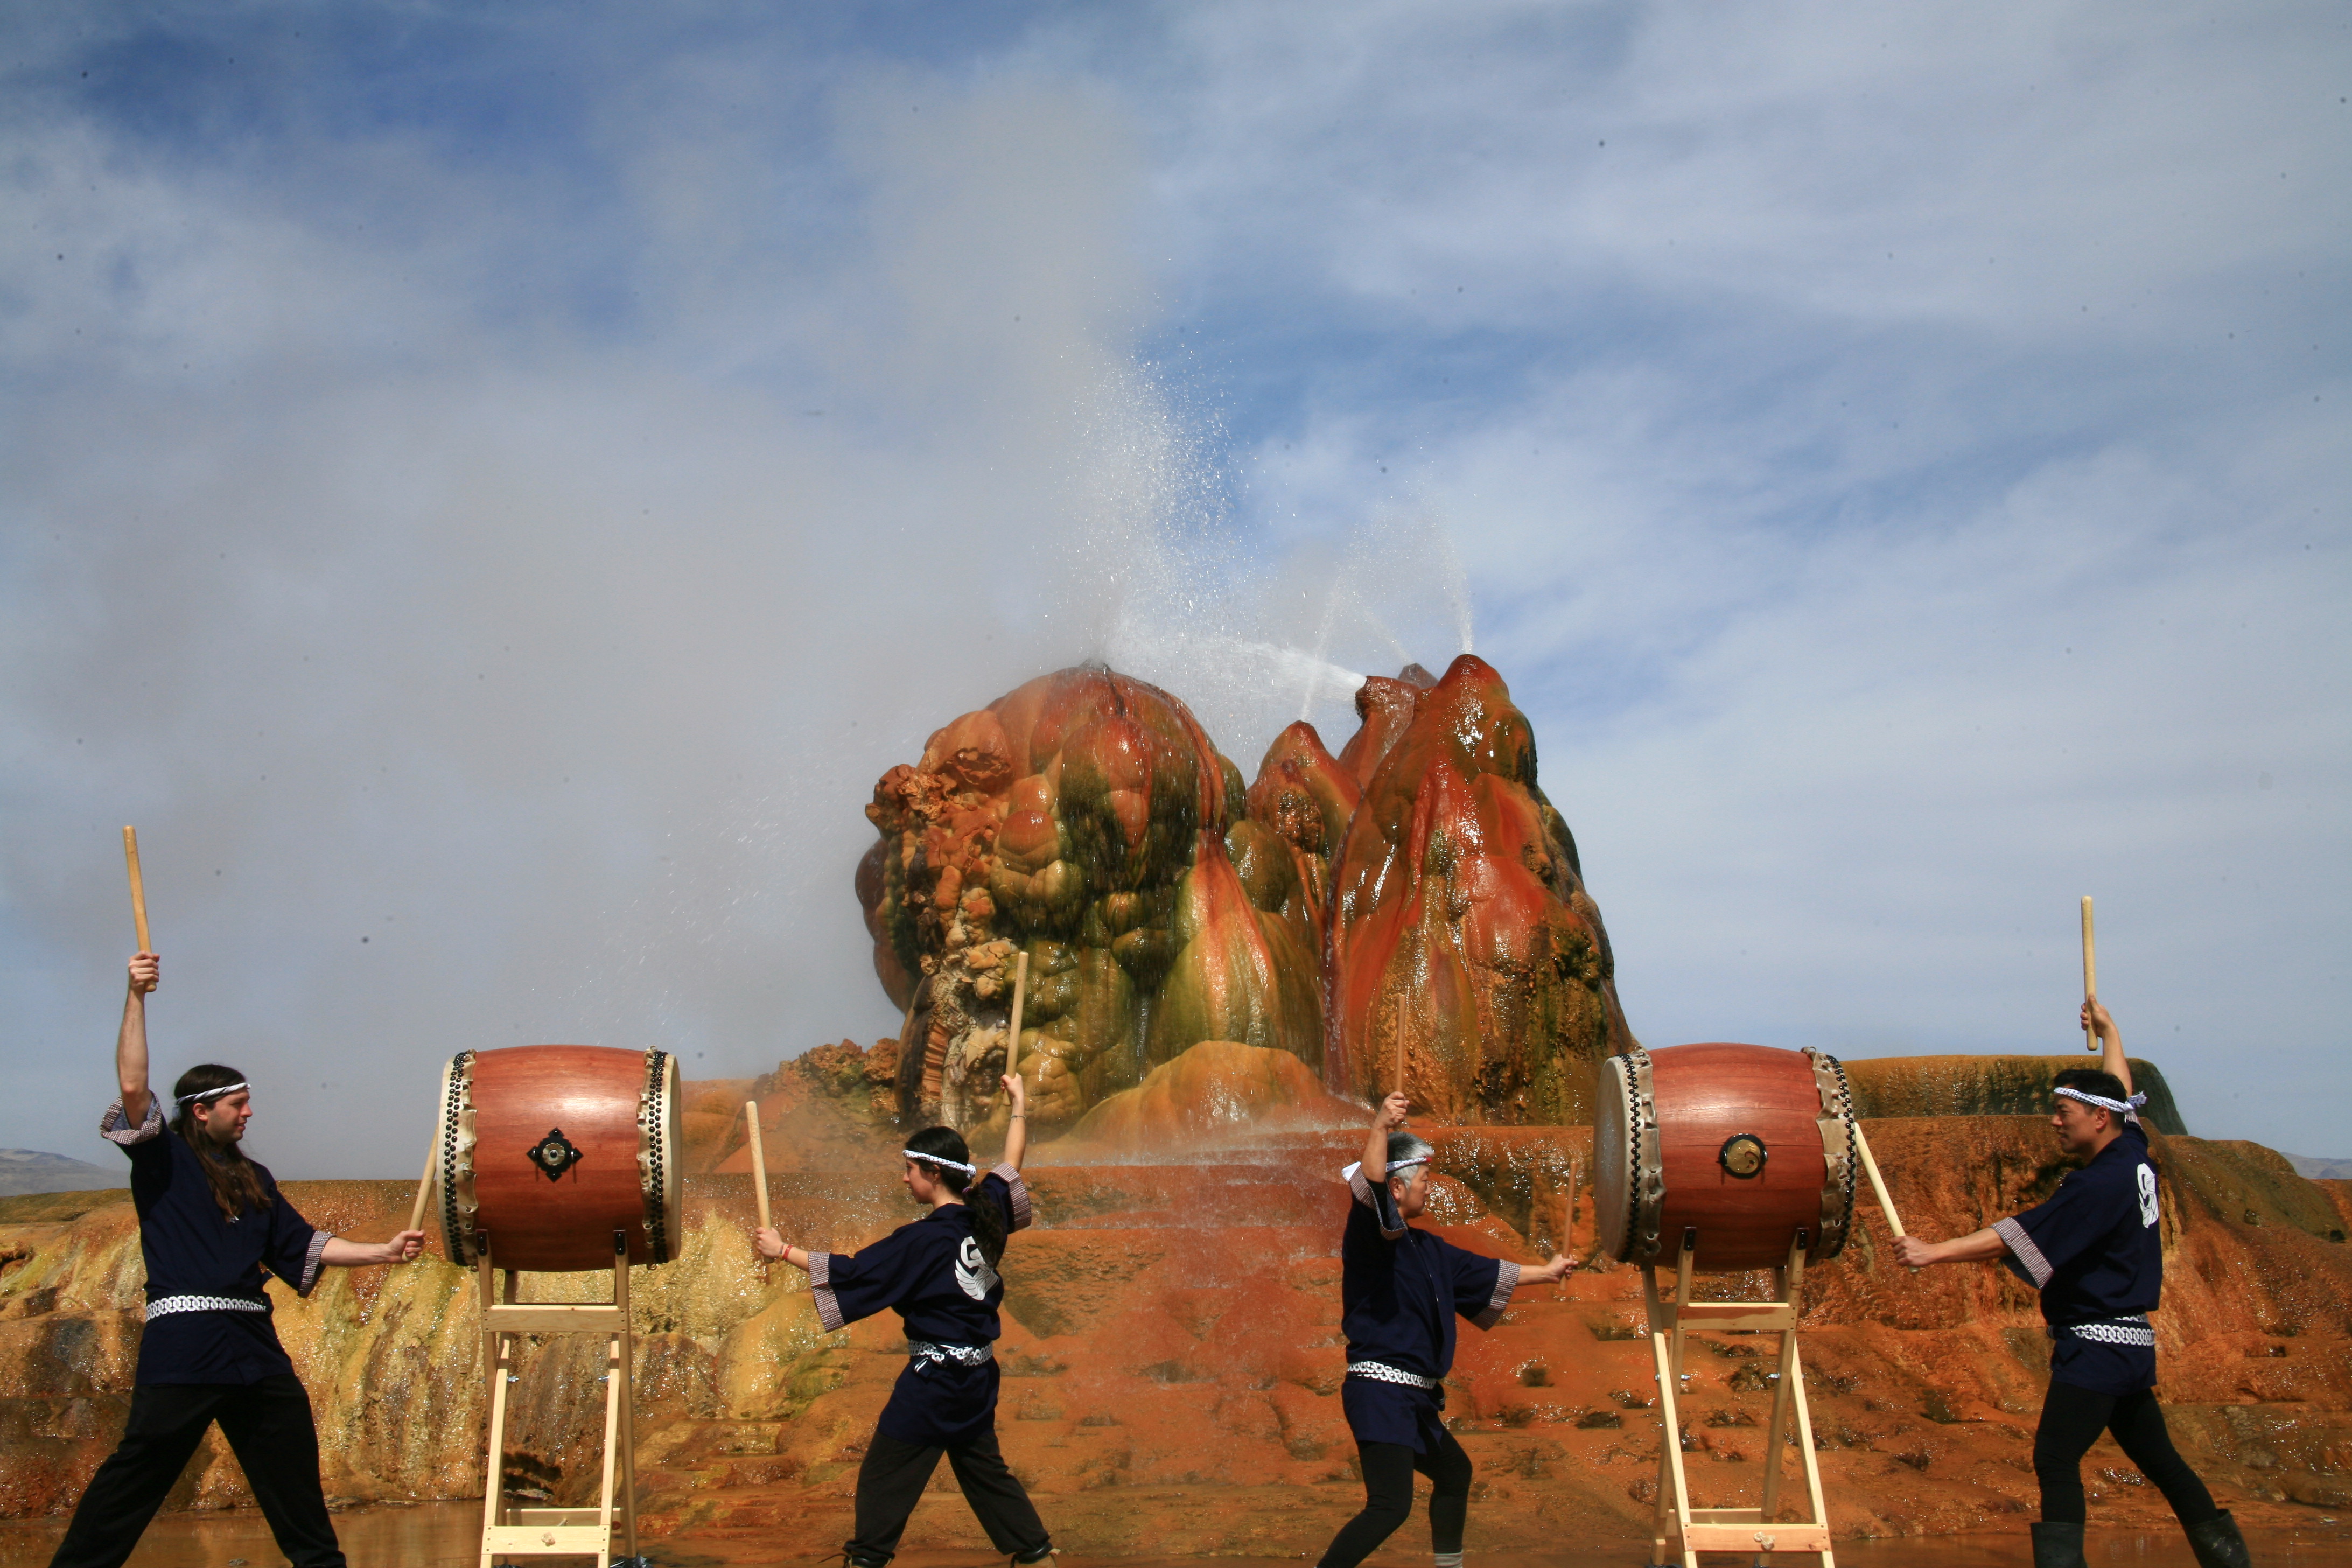
Reno Taiko brings the ancient art of Japanese drumming to the Reno community. Our group celebrates the rich tradition of taiko while fostering community connections through rhythm and performance.
We welcome drummers of all experience levels and ages to join our weekly practice sessions and experience the joy of taiko drumming together.
Upcoming Shows & Events
In the News

Creative Aging Grant
Reno Taiko Tsurunokai presents "The Joy of Drumming" taiko classes to our senior community, thanks to a Creative Aging grant from the Nevada Arts Council.
Learn More
PBS Arteffects Program
Watch our feature on PBS Reno's Arteffects program showcasing our community and performances.
Watch VideoAdmin Login
Contact administrator for access credentials
Media Gallery
Featured Videos
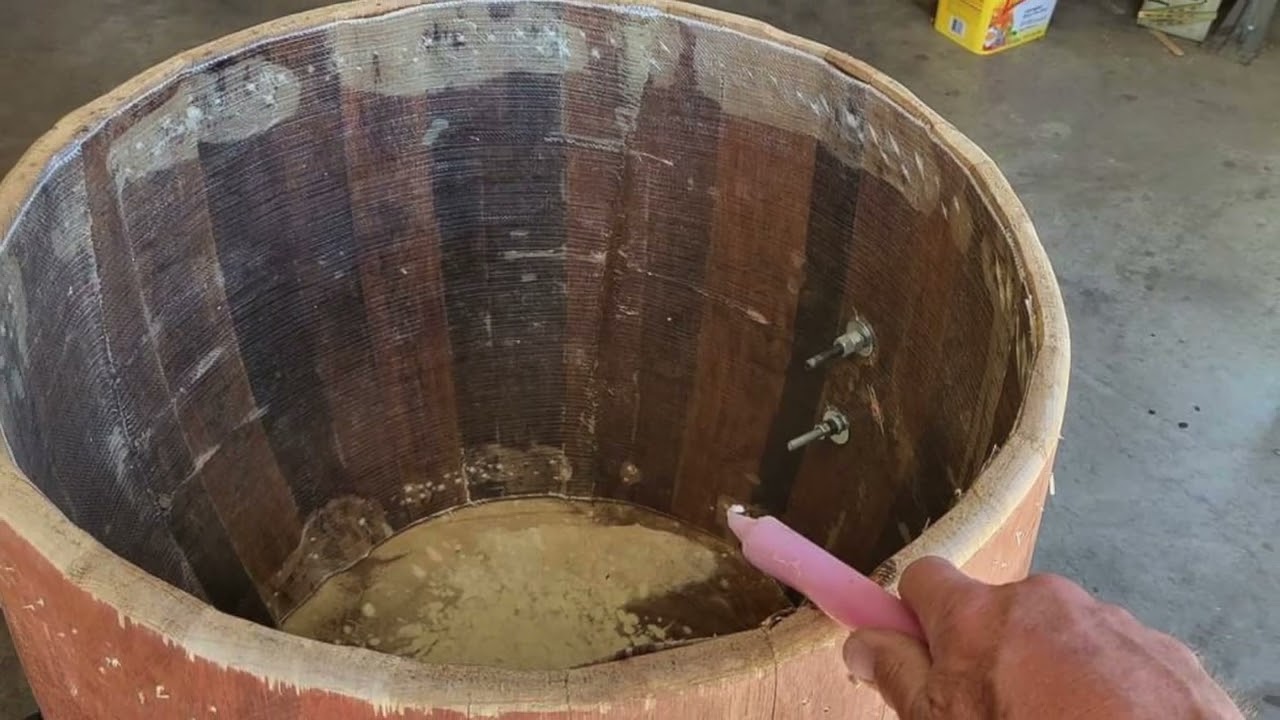

Photo Gallery
Images from our JACL 2011 performance
Drum Building & Equipment
At Reno Taiko, we take pride in crafting our own drums from wine barrels. This traditional approach connects us to the artistry and craftsmanship that defines taiko drumming. Our drum building process is a community effort that brings our members together while creating the instruments that give voice to our music.
Step 1: Removing the Old Head
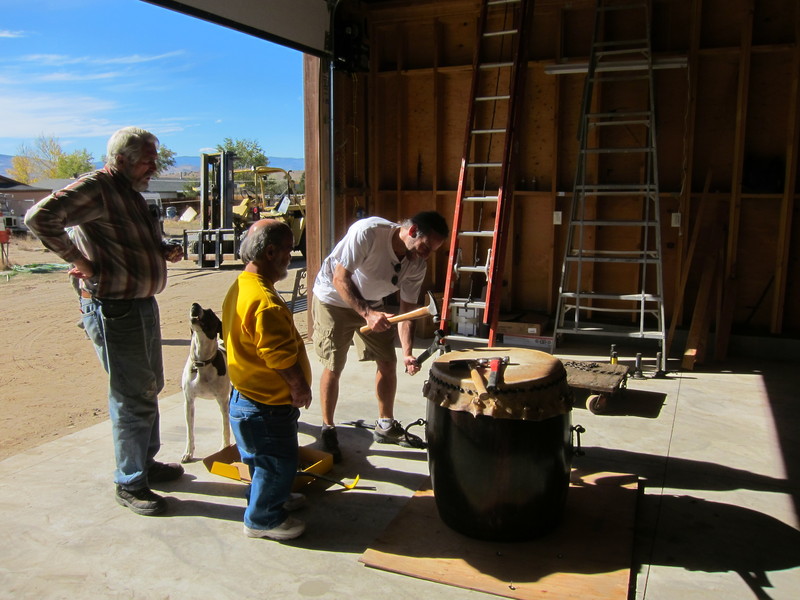
We begin by carefully removing the old drum head. Using hammers, our team members carefully extract each tack so the drum head isn't damaged and can be reused. Bob, Ken, Mike, and Sheila demonstrate this meticulous process. We save every tack because they're expensive and can be reused in the reassembly.
Step 2: Preparing the Hardware
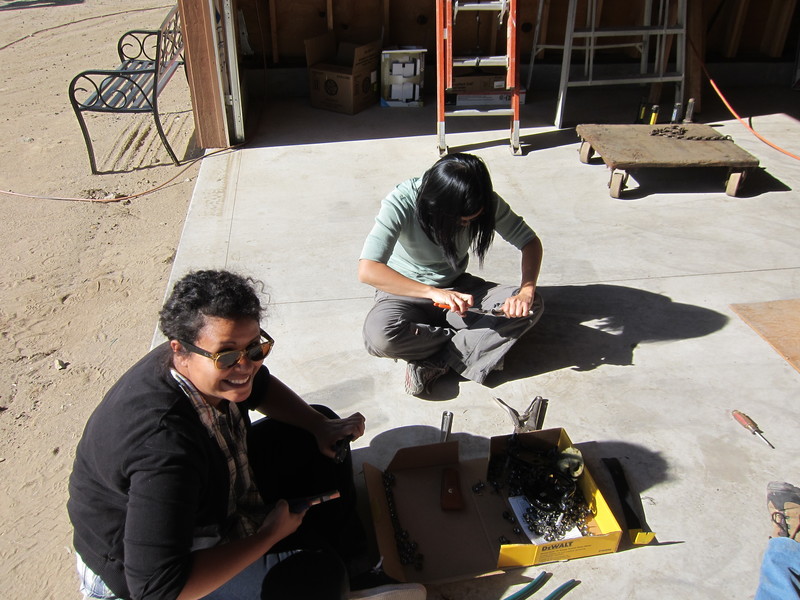
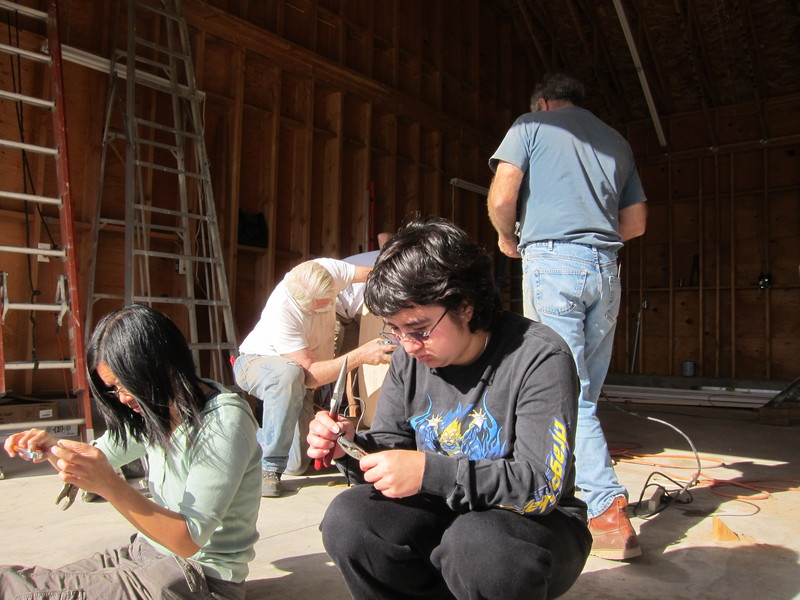
Nicci, Kelly, and Diane show the careful process of straightening tacks that may have bent during removal. Using pliers, we hold the head of each tack while straightening the stem. This attention to detail ensures easy reinstallation and preserves our valuable hardware.
Step 3: Sanding and Refinishing
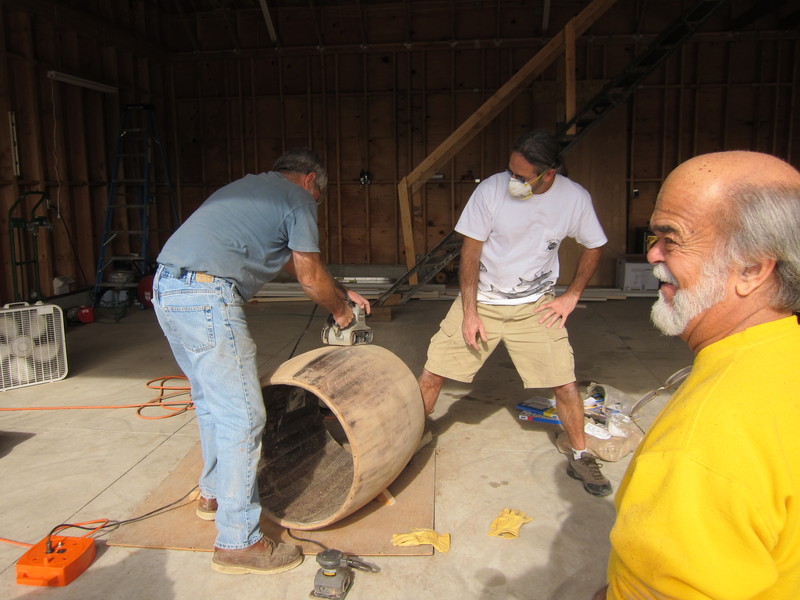
With both heads removed, we sand away the old stain to prepare for refinishing. Marvin, Mike, and Ken demonstrate our systematic approach using progressively finer grits: starting with 80 grit for quick stain removal, then moving through 100, 120, 150, and 180 grit for a perfectly smooth finish. Safety and teamwork are essential - one person operates the belt sander, another holds the drum, and a third supervises.
Step 4: Staining
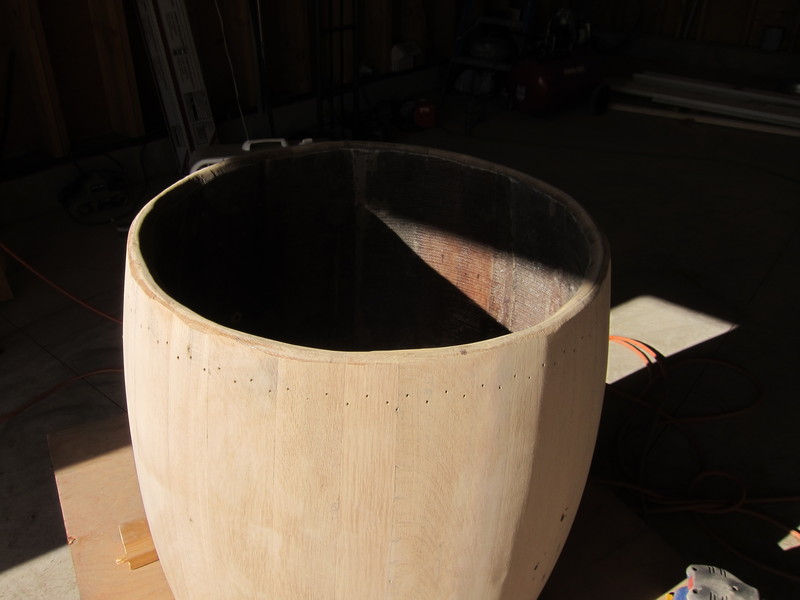
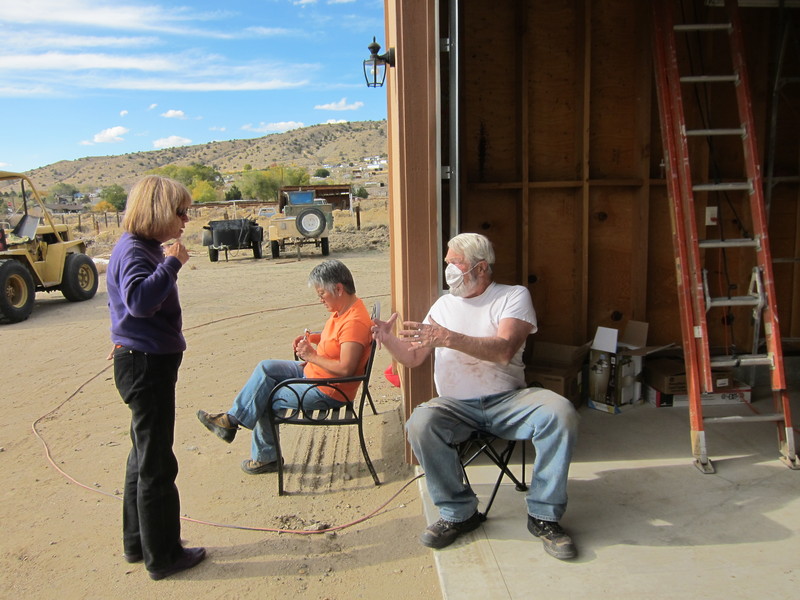
After a full day of preparation work, Nancy, Bob, and Marian take a well-deserved break. The drum barrel has been completely stripped and sanded, ready for staining to achieve its beautiful new color.
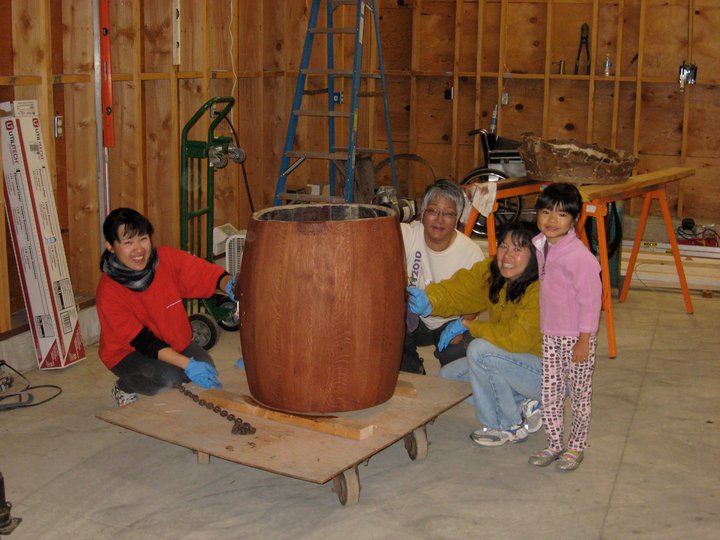
After a day of careful staining work, Yae, Nancy, Cindy, and Marissa proudly display the drum's beautiful new finish. All that remains is to stretch new hides across the top and bottom, and our handcrafted taiko will be ready to sing!
Step 5: Installing New Heads
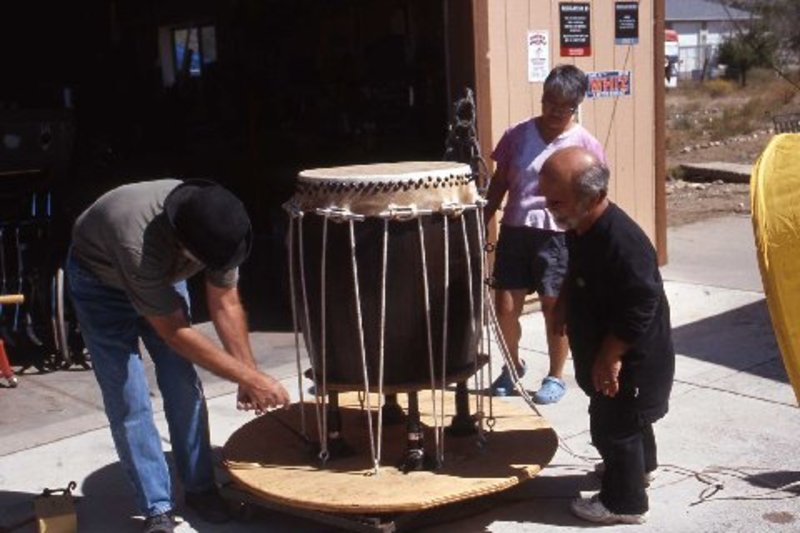
To install the new heads, we carefully position the hide on top of the drum and run rope around the circumference. The drum rests on a platform above hydraulic jacks. Ken, Marvin, and Nancy ensure everything is properly aligned before we extend the jacks to create the precise tension needed.
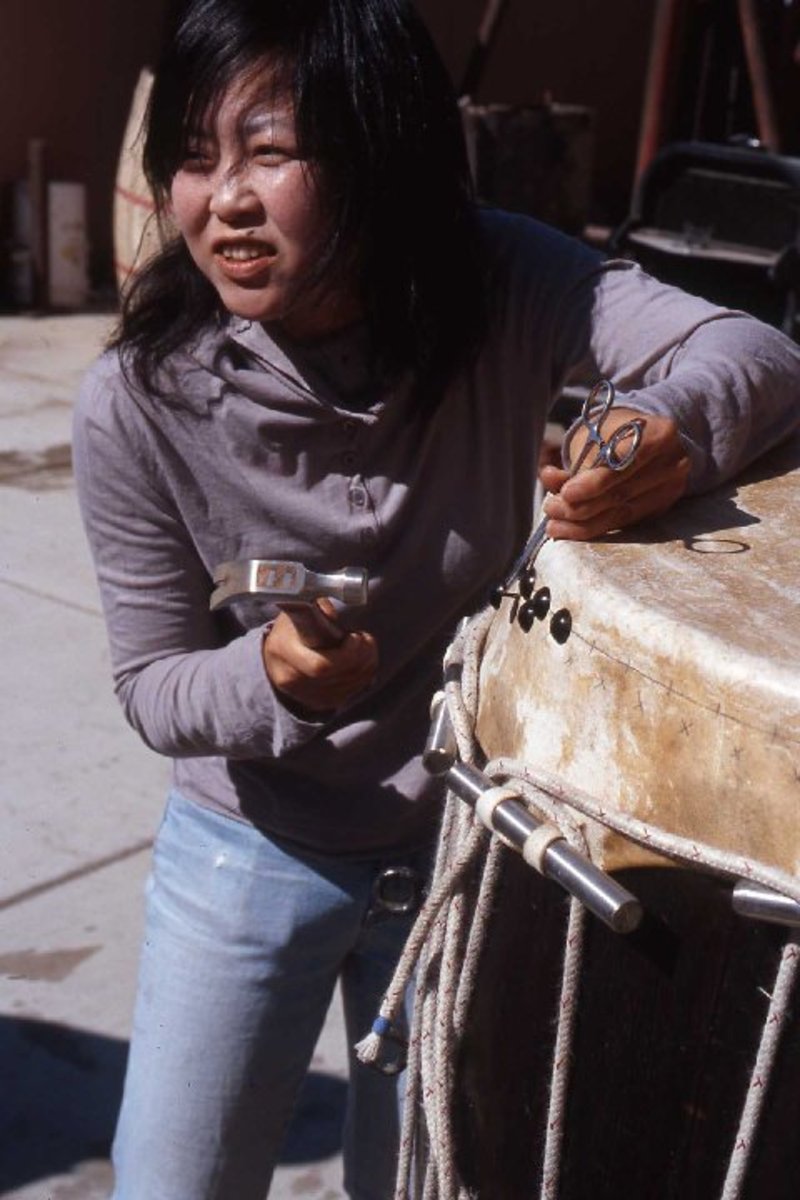
Once proper tension is achieved, we secure the head permanently with tacks. Keiko demonstrates the precision required - each tack must be perfectly positioned and carefully hammered into place. Two rows of tacks around each head ensure the drum head stays secure and won't rattle during performance.